Hey there, Urbanimp here, and today I have written a tutorial on how to build a simple snake game using HTML, CSS, and JavaScript. This is my first tutorial so be easy on me :)
I'll guide you through each step of the process, breaking down every chunk of code so you can not only replicate the game but also understand the why and how behind each line of code. Let's do it!
This can be created in any code editor but my got to is always visual studio code. I have just found this to be one of the most reliable and easy to navigate. There are also a lot of really cool customization options that allow you to change the layout and color theme fop the edit. You can download visual studio code here if you need it.
Setting Up the HTML Structure
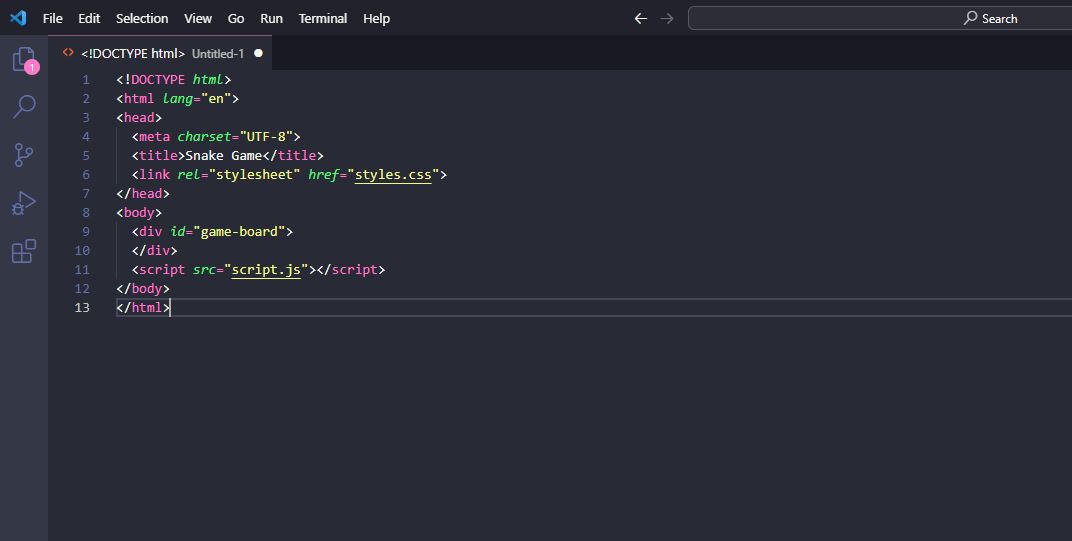
First, we'll set up the HTML skeleton for our snake game. Create a new HTML file and add the following code:
<!DOCTYPE html>
<html lang="en">
<head>
  <meta charset="UTF-8">
  <title>Snake Game</title>
  <link rel="stylesheet" href="styles.css">
</head>
<body>
  <div id="game-board">
  </div>
  <script src="script.js"></script>
</body>
</html>
Here's the breakdown: : Links to the external CSS file where we'll write our styles. : This is where our game will live. : Links to the external JavaScript file where we'll write our game logic.
Laying Out the CSS
Create a new file named styles.css and paste the following code:
body {
  margin: 0;
  padding: 0;
  background: #f0f0f0;
  display: flex;
  justify-content: center;
  align-items: center;
  height: 100vh;
}

#game-board {
  width: 400px;
  height: 400px;
  border: 4px solid #000;
  position: relative;
}
What we're doing here: We set the body to take up the full viewport height (100vh) and center its content. The #game-board is where our snake and food will appear. It's a 400x400px square with a solid border.
Let's Jump into JavaScript
Create a new file named script.js and let's start by initializing some variables.
let snake = [{ x: 10, y: 10 }]; // Snake starting position
let food = {}; // Food position
let dx = 10; // Horizontal speed
let dy = 0; // Vertical speed
let gameBoard; // Game board element
Initializing the Game Board
Add the following function to set up our game board:
function init() {
  gameBoard = document.getElementById('game-board');

  // Create the food and the snake
  createFood();
  drawSnake();

  // Start game loop
  setInterval(gameLoop, 100);
}
In init(), we:
Get the game board element. Call functions to create the food and draw the initial snake (we'll define these shortly). Start the game loop by calling gameLoop() every 100ms.
Drawing the Snake
To draw the snake, we'll loop through each segment and create a <div> for it.
function drawSnake() {
  // Clear previous snake segments
  document.querySelectorAll('.snake').forEach(e => e.remove());

  // Draw new segments
  for (let segment of snake) {
    let snakeElement = document.createElement('div');
    snakeElement.style.left = segment.x + 'px';
    snakeElement.style.top = segment.y + 'px';
    snakeElement.className = 'snake';
    gameBoard.appendChild(snakeElement);
  }
}
We first remove any existing snake segments.
We then loop through each segment of the snake array, set its position, and append it to the game board.
Creating the Food
function createFood() {
  // Generate random position
  food.x = Math.floor(Math.random() * 40) * 10;
  food.y = Math.floor(Math.random() * 40) * 10;

  let foodElement = document.createElement('div');
  foodElement.style.left = food.x + 'px';
  foodElement.style.top = food.y + 'px';
  foodElement.className = 'food';
  gameBoard.appendChild(foodElement);
}
Here, we generate random coordinates for the food and append it to the board.
The Game Loop
Now let's define our game loop.
function gameLoop() {
  // Update the snake's position
  let head = Object.assign({}, snake[0]);
  head.x += dx;
  head.y += dy;

  // Check for collision with food
  if (head.x === food.x && head.y === food.y) {
    // Add new segment and create new food
    snake.unshift(head);
    createFood();
  } else {
    // Move snake
    snake.pop();
    snake.unshift(head);
  }

  drawSnake();
}
In each iteration: We update the head position based on the current speed (dx, dy).
We check for collision with the food. If the head collides with the food, we grow the snake by one segment and generate a new piece of food.
We move the snake by removing the last segment and adding the updated head at the beginning.
Final Touch: Adding Controls
Add event listeners to capture arrow key presses.
document.addEventListener("keydown", function(event) {
  switch (event.code) {
    case 'ArrowUp':
      dx = 0;
      dy = -10;
      break;
    case 'ArrowDown':
      dx = 0;
      dy = 10;
      break;
    case 'ArrowLeft':
      dx = -10;
      dy = 0;
      break;
    case 'ArrowRight':
      dx = 10;
      dy = 0;
      break;
  }
});
Start the Game
Finally, let's call our init function to get the game started.
window.onload = init;
Don't Forget the Final CSS
We need to add the styles for our snake and food elements. Update your styles.css:
.snake {
  position: absolute;
  width: 10px;
  height: 10px;
  background-color: green;
}

.food {
  position: absolute;
  width: 10px;
  height: 10px;
  background-color: red;
}
And there you have it—a simple snake game using HTML, CSS, and JavaScript. I hope you found this tutorial informative and enjoyable.
Happy coding! -Urbanimp

